Building a Walkin Cooler

So anyway I got this silly idea in my head that it would be cool to have a walk in fridge in my basement. Now the reasoning behind it was simple. I needed a place that I could lager and store large amounts of homebrew for long periods of time. I thought I could also split part of it up into a temperature controlled fermentation room; you know like a fan on a vent connected to a Johnson controller that would open and close when needed so that I could keep say a constant 58f fermentation temp.
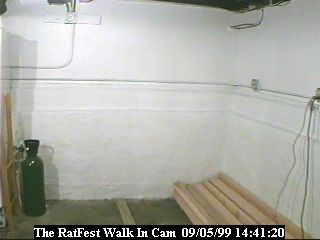
First off I decided to build the walk in fridge in the corner of my basement where I could get 2 full foundation walls. I live in Chicago so the foundation is a pretty constant 52f and I figured I could use that to my advantage cooling wise. Secondly I chose this corner because it had a window that I could board up and insulate along with running my cooling coils to the compressor that will live outside (I am currently using an 8,000 BTU window AC unit to chill the room).
My initial measurements were 5 ½' x 10' for the fridge. I took these measurements to my local Home Depot and told them what I was doing. Despite the crazy looks and them saying things like "You are building a cooler in your house? Are you CRAZY?" they helped me out.
The first trip to Home Depot cost me $89 in 2 x 4's, screws, nails and floor anchors.
- Twenty 2 x 4 x 8
- Two 2 x 4 10
- One 2 x 4 x 10 (Pressure Treated)
- One 2 x 4 8 (Pressure Treated)
- One box of cement anchors
- Wall nails (4 pounds)
- One box of all weather "Deck" screws
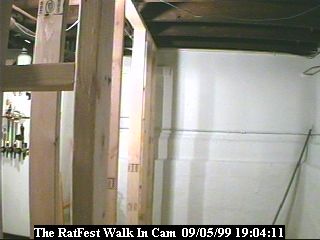
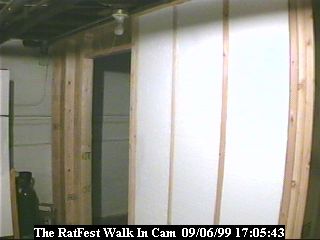
The next step was creating the clean working space in the basement to start construction. With all the drywall and lack of bookshelves in our new house this was quite a job but still the walk in bug was biting so I cast the family aside and buckled down for a good 3 weeks of serious beer and power tools.
Here is the clean space with the 2 x 4's ready to go.
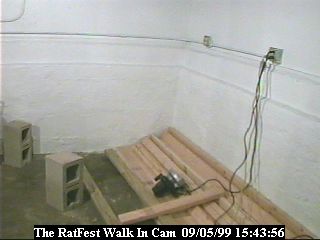
First things first. Round Boy and I grabbed the two pressure treated 2 x 4's (one 2 x 4 x10 and one 2 x 4 x 8) that were to be used on the cement basement floor. I went with the pressure treated stuff because of the possibility of moisture coming up off of the foundation. The rest of the 2 x 4's are standard.
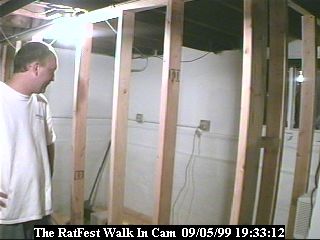
I Anchored the 2 x 4's to the floor using expansion anchors made specifically for cement. I placed the anchors ever 16" staggering them in between the wall studs. At this point Round Boy and I started putting together the wall.
The biggest problem that we found was that my 90 year old house is anything but square. I believe that there was a ¾" discrepancy as far as the height of the 2 x 4's went. This made for some very interesting measurements. I would suggest that if you try building a walk in fridge that you make sure that all your measurements are perfect every time. It took us about 4 hours to get the walls up and then we of course had a brew or two.
The next step included another trip to Home Depot. This one was for the wall material and some Styrofoam insulation for the walls. This trip cost me just under $200
- Five 4 x 8 A/C plywood (1/4"; outside walls)
- Five 4 x 8 particle board (1/4"; inside walls)
- Five 4 x 8 Styrofoam insulation boards (2")
- Five 4 x 8 Styrofoam insulation boards (1 ½")
My next step was to put up the inside walls and the vapor barrier (I used a couple old plastic drop clothes). Again the most difficult part of this experience was that the height of my basement is not consistent. All in all it would have been easier if they would have poured the foundation level back in 1917!
Round Boy and I took the highest and lowest measurements and then chalk lined the wall boards. This made the cut pretty easy but still kind of a pain.
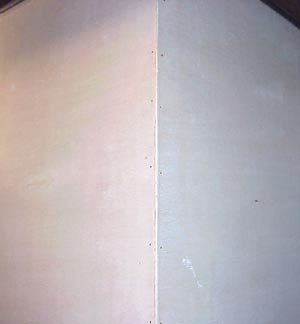
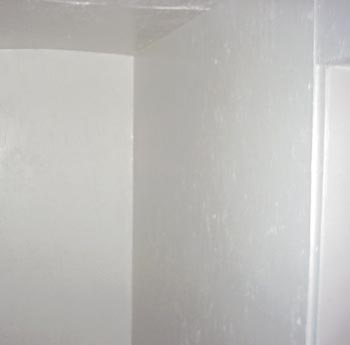
Here is one of the walls with the vapor barrier up.
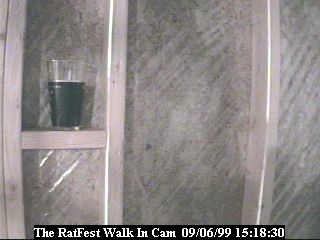
Here are both walls.
I tried many ways to cut the insulation for the walls but I found that the cheap serrated kitchen knife I have worked best. Round Boy and I measured the insulation just slightly larger then the space to get a snug fit between the studs. The insulation was packed in two pieces as far as insulation depth goes. We used a 2" and a 1.5" piece to get a total of 3.5" of insulation in the walls.
Once the insulation was in place it was time to start putting on the outside walls. Again the biggest problem here was the foundation not being level at all. Our old friend the chalk line saved the day again. For the outside wall we used small flat head nails to secure the edge of the panels to the studs. I later went back and used finishing nails to secure the panels to the rest of the studs. I did not want the flat heads to be visible after the staining.
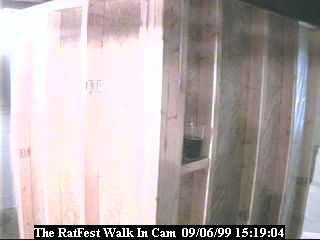
Here is half the wall up with insulation exposed to show the most excellent tight fit we got on the insulation.
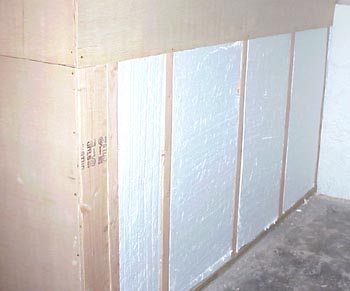
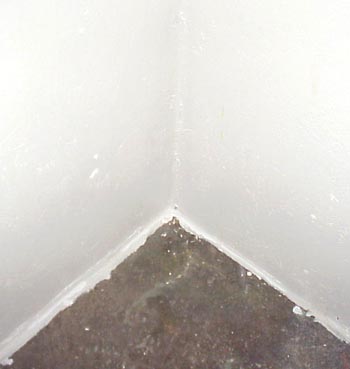
Here is a picture of the corner.
The Door
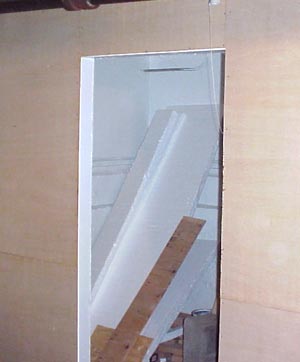
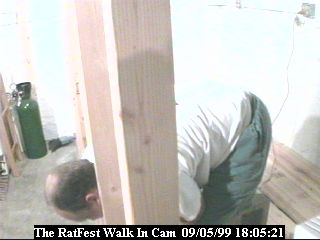
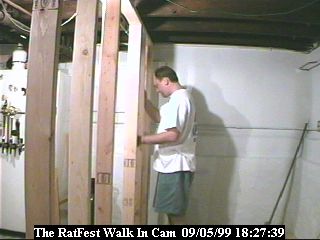
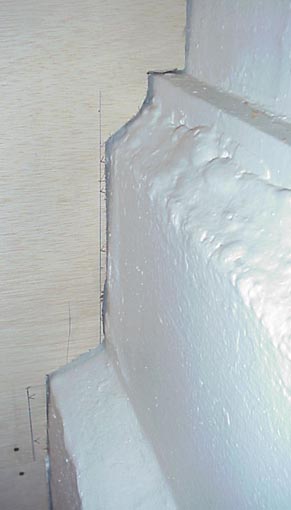
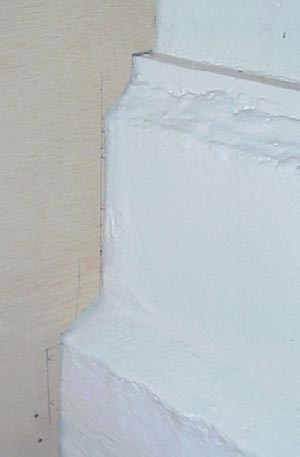
Now the hardest part of putting up the paneling was where my walls met the foundation. I have this funky old foundation that is extremely uneven and also just happens to be jam packed with oddball angles.
Round Boy did one wall and I did the other. The first wall was done with a template. It worked all right. The second wall was done purely by the use of measurements/eye/alcohol and dumb luck. The second wall came out better.
Boy was this part a major pain in the ass!
Here are some images of the wall to foundation hell.
After all the insulation/walls/ceiling went up I painted the inside with KILZ sealer. Use a Mask and make sure that the place is well ventilated or this stuff will kill ya quick. After the KILZ dried I painted the inside of the walk in with mildew resistant bathroom enamel.
I believe it was about this time that I began to realize that I had a cooler in my basement and that I was standing in it… GOD DAMN!!!
I sat down and had a beer from my kegerator and thought how sad it was that my faithful five tap fridge that has served me so well would soon be out of a job.
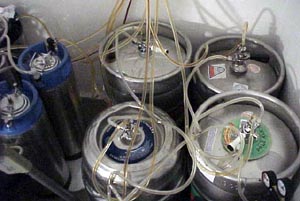
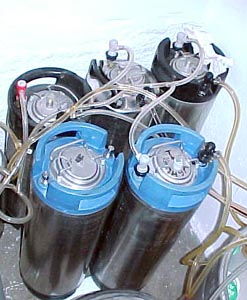
Here are some inside pics:
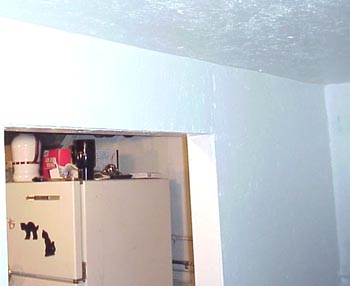
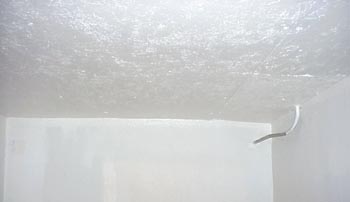
Note the Caulk!
We built the door of the fridge out of 2 x 4's, ¼" plywood, insulation and beer… I secured the door with five heavy hinges and 2 bolt locks. I sealed the inside seal with ¼" foam padding and it is holding well. I do not have any images of the door construction due to inebriation. I will take some pics when I get the chance.
Well now the damn thing was done. Now how do I chill the thing? I am currently using an 8,000 BTU window AC unit that I adjusted the thermostat on. The Walk in has been holding steady at temps between 38-40f. I will be replacing the AC unit in the spring of 2000 with a compressor and commercial fan cooling unit. I could not find the fan unit I wanted and the thought of waiting any longer was killing me so I went with the AC unit. So far it is kicking ass even if it is a temp thing.
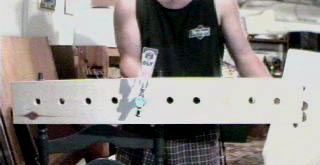
I thought long and hard about what to do tap wise and finally decided on a 10 tap serving box that would be mounted on the front of the walk in (the future "back" bar area).
I constructed the box out of pine and evenly spaced the 10 taps on it at about 3.75" apart.
While I was constructing the tap box I decided to stain the fridge a nice oak color. I did this using MINWAX and it turned out fantastic!
I finished the seams of the paneling and the corner if the walk in using a variety of materials like quarter round, 1/8 x 2 stripping and such. The whole time using finishing nails to ensure that nails were not seen everywhere.
Once I stained the tap box and begin putting the faucet fittings on it I realized just how heavy it was and decided to support it with shelf supports on the front of the walk in. The last thing I wanted was for it to fall off the damn thing.
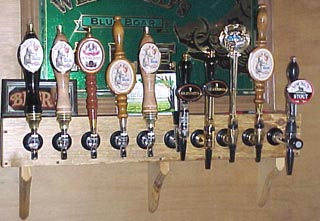
Finally all the finishing work, caulking and staining were done and it was time to place the tap box on the fridge.
I used a hole saw to drill a 2 ½" hole behind where the tap box would be so I could fit the 10 beer lines through the wall. I packed the tap box with insulation and mounted that bad boy right to the wall. I made the tap box so that the top piece of it was easily removable so I could get to the connections if I needed.
Here is the final product. Pretty damn Sweet!

My total cost not including AC unit and tap faucets etc. was about $600. The commercial units I looked into buying were in the $4,500-8,000 price range.
My only worry now is how do I keep 10 brews on tap all of the time